
Last updated November 14, 2026
 Wrought iron
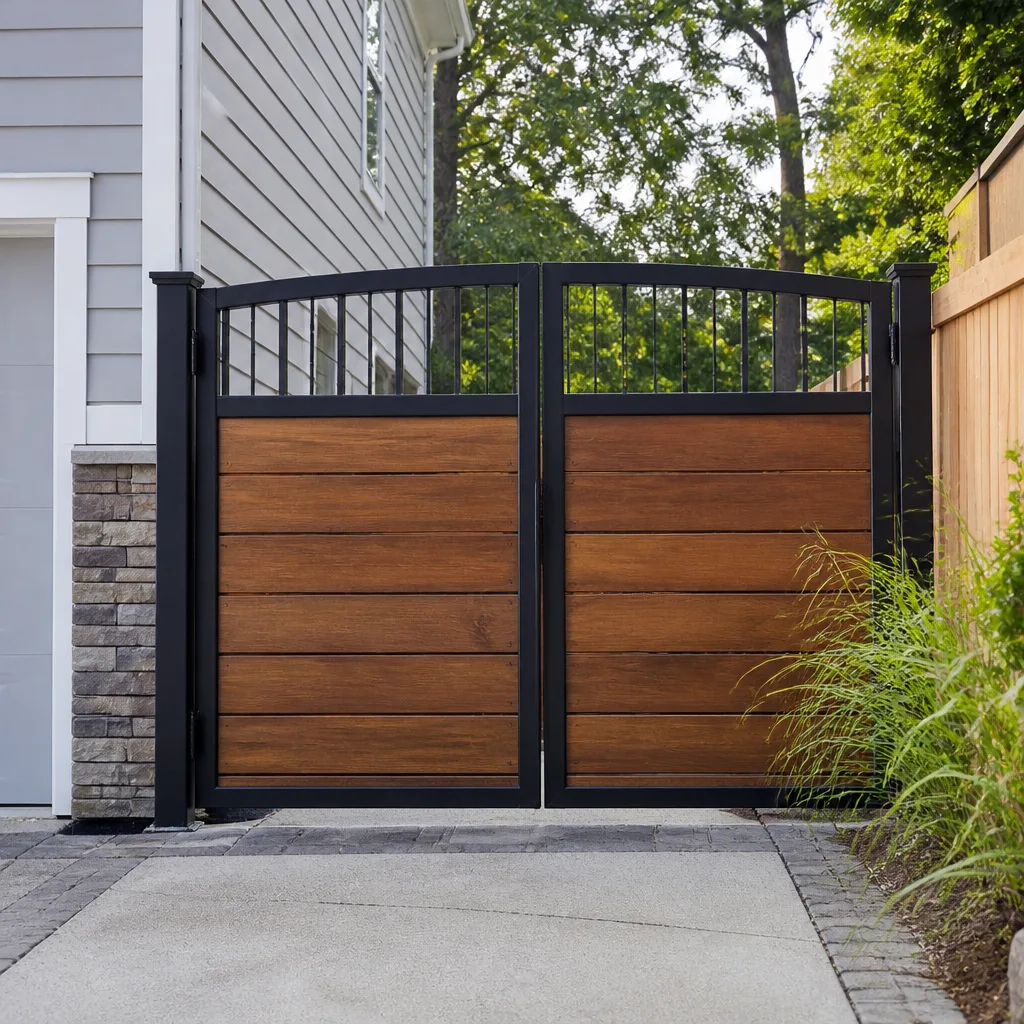 Wood & steel frame
 Farm & ranch
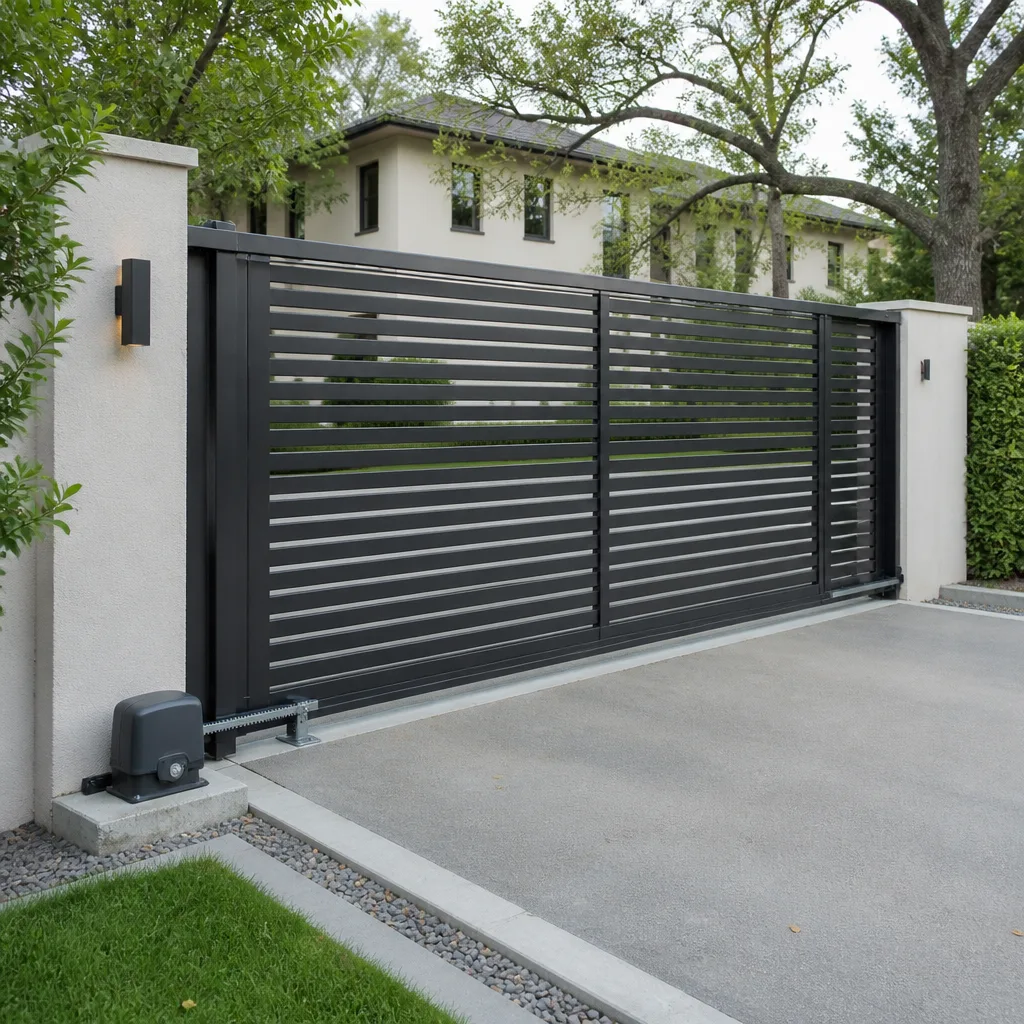 Sliding driveway gates
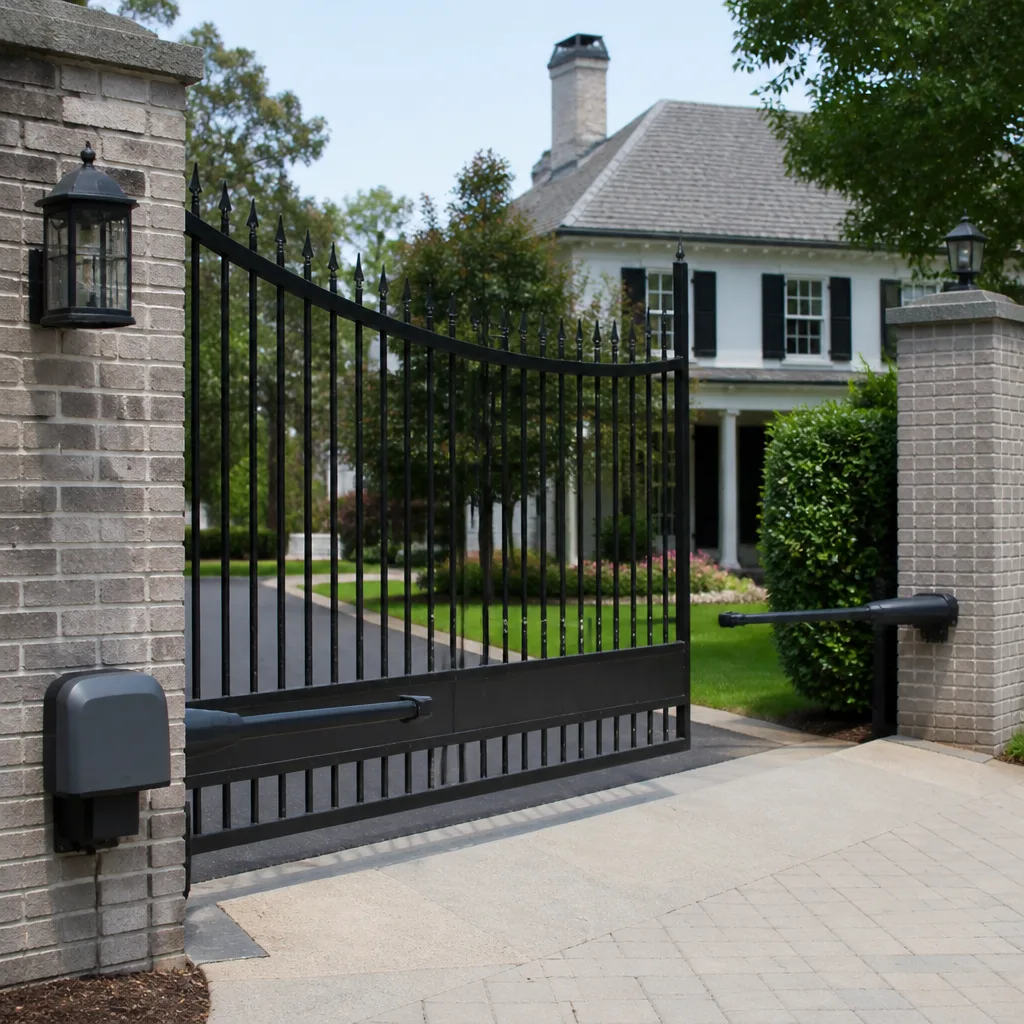 LiftMaster operators
Free on-site gate assessment - hinges, posts, and your LiftMaster or Nice gate operator checked before anything is quoted
The assessment is free and the quote is the invoice.
Get your free estimateGate Repair Maintenance Checklist for Waco Homeowners
Lubricating your gate’s hinges on schedule while ignoring the foundation heave happening underneath the post is like changing your oil while your engine mounts crack. The visible task masks the structural problem building beneath it. Here in Waco, that problem is usually clay. The Blackland Prairie soil under most local driveways swells when it’s wet and shrinks hard when it bakes, and it moves gate posts with it. This guide gives you a real checklist built around what actually fails here: post movement, 100°F summer afternoons, spring hail, and the electrical surges that follow Central Texas storms. You’ll get a component-by-component inspection sequence, lubrication specs by part type, and a simple way to document each pass so small trends surface before they turn into a gate stuck open at 6pm.
Quick Answer
A gate maintenance checklist for a Waco home should be run quarter by quarter and cover three layers: the structure (posts, hinges, frame, latches), the operator (motor, control board, battery backup), and the safety and access hardware (photo eyes, safety edges, keypad, remotes). Check post plumb and hinge play first, lubricate each component with the right product for its type, then test the operator and every safety device. Document pass or fail for each item every time so a technician can spot slow, trend-based failure early.
Styles & brands we work with
- Wrought iron
- Wood & steel frame
- Farm & ranch
- Sliding driveway gates
- LiftMaster operators
Table of Contents
- Why Waco Gates Fail Differently Than Anywhere Else
- The Clay Soil Check: Waco’s Blackland Prairie Problem
- The Component-by-Component Inspection Sequence
- Lubrication Spec by Component Type
- Storm Prep for Central Texas: Hail, Surge, Wind
- The Operator and Controls: What to Test and How Often
- What to Document and Why It Matters
- A Waco Seasonal Maintenance Calendar
Why Waco Gates Fail Differently Than Anywhere Else
Most gate maintenance checklists floating around the internet were written for somewhere with different soil, different heat, and different storms. They’re not wrong, exactly. They just miss the parts that break first around here.
Three local conditions drive most of the gate failures we see. First is the soil. Waco sits on Blackland Prairie clay, and that clay has a wide swing between wet and dry. When it rains through spring, the clay under a gate post swells and can push a post up and out. When August arrives and the ground cracks, the same post can settle and lean. A gate that swings clean in March may drag by July, and the mechanism usually gets the blame when the post is the real culprit.
Second is the heat. When daytime temperatures sit at or near 100°F for weeks, lubricants thin out, rubber seals on operators harden, plastic components get brittle, and control boards run hotter than they were designed to run for long stretches. Parts that last years in a milder climate wear faster here.
Third is the storm pattern. Spring in Central Texas means hail and power flickers, sometimes in the same afternoon. Hail can crack a photo eye lens or dent a control box, and every surge that follows a lightning strike is a hit the control board has to absorb. The operator motor rarely quits first. The electronics do.
None of this means a Waco gate is fragile. It means the failure points are local and predictable, and a checklist that accounts for them catches more than a generic one ever will.
The Clay Soil Check: Waco’s Blackland Prairie Problem
Post movement is the single most overlooked cause of gate trouble in Waco, and it’s the one thing a homeowner can watch for with no tools beyond a level and a marker. The idea is simple: a gate is a rigid frame hung between two fixed points. If one point moves, the gate binds, drags, sags, or stops latching cleanly. Most of the “it just started sticking” complaints we get start underground.
Run this check quarterly, and again after any stretch of heavy rain or a long dry spell:
- Stand at the hinge side and look down the length of the gate frame. Is the leading edge square to the ground, or does it dip?
- Set a spirit level against both posts, front and side. Note any lean, even a small one, and mark the post’s position on the ground with a pencil line or a stake so you can see later whether it has moved.
- Open and close the gate by hand with the operator disengaged. Does it swing freely, or does it hang up at the same point every time? A consistent hang-up point hints at geometry, not lubrication.
- Look at the ground at the base of each post for fresh cracks radiating outward, soil separation from the post, or a rise where the clay has swelled.
- Check that the latch lines up without lifting or pushing. A latch that suddenly needs help to catch is a post movement signal.
One small note: if the gate has an opener, put it in manual before you test swing, and put it back after. You’re checking the gate, not the motor.
If you find movement, don’t ignore it and don’t just oil everything and hope. The right fix depends on whether the post is leaning, settling, or the footing has lost grip in the clay, and that’s a judgment call an experienced eye makes quickly. Preventing the movement from turning into a bent operator arm or a cracked hinge mount is the whole point of this section. Catching a lean at a quarter inch saves you from a much bigger repair.
The Component-by-Component Inspection Sequence
Pass or fail, in order, every quarter. Order matters because mechanical problems upstream will imitate electrical problems downstream, and if you test in the wrong sequence you’ll chase ghosts. Work from the ground up and from the frame outward.
- Posts and footings. Pass: plumb within your visual check, solid footing with no cracking around the base. Fail: lean, pivot in the clay, or latch misalignment.
- Gate frame and panel. Pass: no visible bends, welds intact, no rust-through at the bottom rail. Fail: sag, cracked weld, or rust that has thinned the steel.
- Hinges and pivot points. Pass: no vertical play when you lift the gate at the latch edge, movement is smooth. Fail: lift or wobble, grittiness, or a hinge that squeals even after lubrication.
- Rollers and track (sliding gates). Pass: rollers turn freely, track is clear and straight. Fail: flat spots on rollers, debris packed in the track, or the gate climbing out of the track.
- Latch, strike, and stops. Pass: gate latches on the first swing, stops are secure. Fail: latch doesn’t catch, strike plate is loose, or the gate over-travels.
- Operator and drive (chain, screw, or hydraulic arm). Pass: smooth travel with no laboring, no unusual noise. Fail: jerking, slowing, or a motor that runs hot.
- Control board and power supply. Pass: no scorch marks, no corrosion at connections, LED indicator behaving normally for your unit. Fail: burn marks, loose wiring, or an indicator that stays dark.
- Safety devices. Photo eyes and safety edges – pass: gate reverses or stops when the beam is broken or the edge is pressed. Fail: gate keeps closing. This one is not optional.
- Access hardware. Keypad, remotes, and receiver – pass: consistent response at the rated distance. Fail: intermittent response, dead keypad, or a receiver that needs a closer press than it used to.
Anything that fails on step 6 or later deserves a professional look before you keep using the gate. Steps 1 through 5 you can genuinely test yourself and know the answer.
Lubrication Spec by Component Type
Lubrication is the item most homeowners get wrong, and the mistakes are specific. The right product on a chain is not the right product on a hinge, and the wrong lube on a control mechanism can do real damage. A light spray of the same can on everything is how you accelerate wear instead of slowing it.
- Chain drive: use a chain-specific lubricant, applied sparingly and wiped to leave a thin film. Oil that’s too thick traps grit in Waco’s dust and turns the chain into a grinding file. Clean before you lube, never after.
- Worm gear and enclosed gearboxes: don’t add anything unless the manufacturer’s manual calls for it. Gearbox oil is specified by the maker, and mixing in a spray lube is how these units fail early. Leave the gearbox alone and have it checked professionally during service.
- Screw drive (overhead and sliding): a light grease film on the screw, cleaned of grit first. Too much grease collects dust and clogs the nut.
- Hinges and pivot pins: a silicone or dry PTFE lubricant, worked in with a few swings. A dry lube on a vertical hinge doesn’t hold grit the way a wet oil does.
- Hydraulic arms (units like FAAC and BFT arms): hinges only, never the arm’s hydraulic cylinder. That arm is sealed and the oil inside is not a maintenance item you touch at home.
- Rollers and tracks (sliding): clean the track first, then a light lubricant on the rollers. Never grease a roller that rides open air – it just attracts dust.
- Locks, latches, and keypad covers: a graphite or dry-film lubricant in the keyway and at the latch pivot. Wet oil in a Waco summer turns sticky and picks up dust.
Two rules of thumb. First, clean before you lubricate, always; grit under fresh lube is worse than no lube. Second, if a unit has a sealed component (hydraulic arm, gearbox), the manufacturer’s spec wins over any general advice, including ours.
Storm Prep for Central Texas: Hail, Surge, Wind
Spring in Waco brings a specific combination that a generic checklist doesn’t address: hail that comes in sideways, wind gusts that test every fastener, and power surges from lightning that reach the control board through the house wiring. Doing a storm pass ahead of the season is one of the highest-return tasks you can give a gate.
Before storm season, do the following:
- Check the photo eye lenses for chips and cracking. Hail is the obvious enemy, but so is sun damage. A cracked lens passes light unevenly and can cause intermittent safety trips. If a lens is cracked, replace the eye set, don’t tape it.
- Inspect the control box enclosure for seals and mounting. A loose lid lets wind-driven rain in, and water on a control board is the number one cause of a dead operator after a storm. Make sure the seal is intact and the box is screwed down tight.
- Test the surge protection path. If the operator is on a surge protector, confirm the indicator light says it’s still working. Surge devices sacrifice themselves in one hit and then stop protecting.
- Tighten every fastener you can reach safely. Hinges, brackets, and the operator mount. A fastener that loosened in wind becomes a hinge that fails in the next gust.
- Clear debris from the swing path and track. Limbs, gravel, and windblown trash cause more stall-and-strip incidents than anything electrical.
- Test manual release. In a storm-related outage you’ll need to open the gate by hand. Make sure the release works before you need it, not after.
If the gate fails during or right after a storm (won’t move, moves erratically, or beeps), the likeliest cause is water in the control box or a surge-damaged board. That’s a diagnostic job, not a DIY repair. Call us. We answer 24/7. A call outside dispatch hours is booked into the next opening, Sunday through Friday, 7am to 7pm. Fast dispatch from 7am to 7pm.
The Operator and Controls: What to Test and How Often
An automated gate is a mechanical system with a small computer bolted to it, and the failure pattern in Waco reflects that. The motor is usually not the part that dies first. The control board, the battery backup, the photo eyes, and the access hardware take the hits. That’s why our electric gate repair work is as much about the electronics as the drive.
Monthly, on an automated gate:
- Run a full open and close cycle and watch for any hesitation, reversal, or abnormal sound.
- Break the photo eye beam with your hand mid-close. The gate should reverse or stop. If it doesn’t, stop using the gate and get it looked at.
- Press the safety edge (if there is one) with the gate closing. Same test.
- Check that the battery backup (if fitted) is holding. Most units run a self-test on power-up; the manual tells you what a healthy reading looks like for your model.
- Test every remote and the keypad. Response should be consistent at the same distance every time. Shrinking range is an early warning.
A note of caution: an automated gate has a live electrical supply and heavy moving parts. Beyond the tests above, do not open the control box, do not probe wiring, and do not adjust limit switches or force settings yourself. Those adjustments affect whether the gate stops for a child or a pet. On units like Linear, Viking, FAAC, and BFT systems we service, limit and force settings are adjusted to the manufacturer’s procedure for that specific operator.
If the board is failing, the plan depends on the unit. Repair is often the right call; on older consumer-grade operators, replacement can make more sense. We tell you which, and we can quote a full replacement from the same visit if that’s the honest answer. Repair or replace – we’ll tell you which one makes sense.
What to Document and Why It Matters
A checklist that isn’t written down only tells you about today. The real value comes from comparing one pass to the next and spotting the trend. A gate that develops a two-degree lean over 18 months, a photo eye that starts needing a closer approach, a motor that takes a half-second longer to start – those are all trend failures, and trend failures give you weeks of warning that a single inspection never will.
Keep a simple log, on paper or on your phone, with these fields for each pass:
- Date, and the weather over the preceding few weeks (wet, dry, hot, storm).
- Post plumb and position, marked against your reference point.
- Each component from the sequence: pass, pass with a note, or fail.
- Any change in operator behavior, sound, or speed.
- Action taken (lubricated the chain, tightened a bracket, nothing yet).
When a technician comes out, hand over the log. It shortens diagnosis and it means we’re fixing the actual trend instead of the one symptom that finally got your attention. In our experience, a homeowner with a log gets to the right repair faster, and sometimes discovers they don’t need a repair at all, just a service. If your gate is doing something you can’t explain, gate repair starts with a look, and we’ll tell you honestly whether you’re looking at wear or a fault.
A Waco Seasonal Maintenance Calendar
Spread the checklist across the year so every task happens at the right moment for Waco weather. Nothing on this list is heavy work; each pass is an hour, done properly.
- Early spring (before storm season): full storm prep – photo eye lenses, control box seals, surge protector, fasteners, debris, manual release.
- Late spring (after wet season): post plumb and footing check while the clay is still moist. This is when swelling movement shows clearest.
- Midsummer: lubrication pass. Heat thins lubricants, so mid-summer is when a fresh film matters most. Inspect rubber seals and plastic parts for hardening.
- Early fall (after a hot, dry summer): second post plumb check, because the clay has now shrunk and settled. Any post that moved in spring and again in fall needs an on-site estimate.
- Late fall: full component sequence, all nine steps, plus a controls test while you still have slack in the season.
If your gate runs on a commercial-grade operator at a community entrance or a business, the frequency is higher. The same components wear faster with constant traffic, and a gate that fails during a busy week is a security gap. Property managers across Waco get a lot of value out of quarterly passes and a written log.
Common Mistakes to Avoid
- Lubricating everything with the same can. A wet lube that’s fine on a chain will trap grit in a keypad and do nothing useful on a hydraulic arm. Match the lube to the part, or don’t lube it.
- Ignoring a small post lean. A quarter-inch lean looks cosmetic until it bends the operator arm or cracks a hinge mount. Mark the post, watch it, and get it looked at if it keeps moving.
- Testing the motor before the gate. If the gate binds because of post movement, the motor gets blamed. Always test swing by hand first.
- Cleaning the photo eyes and forgetting the lenses. A scratched or hazed lens from summer sun and hail fails the same way a dirty lens does. Look at the plastic, not just the smudge.
- Skipping the surge protector check. After one close lightning strike in the Waco area, a protector can be dead and silent. A dead protector looks like no protector.
- Letting a battery backup run down. In a storm outage, the backup is the only thing that opens or closes the gate. A backup that isn’t holding turns an inconvenience into a stuck gate.
- Adjusting limit switches or force settings by guesswork. Those settings control whether the gate stops for a person or a car. Don’t touch them unless you have the manual and know the procedure for your model.
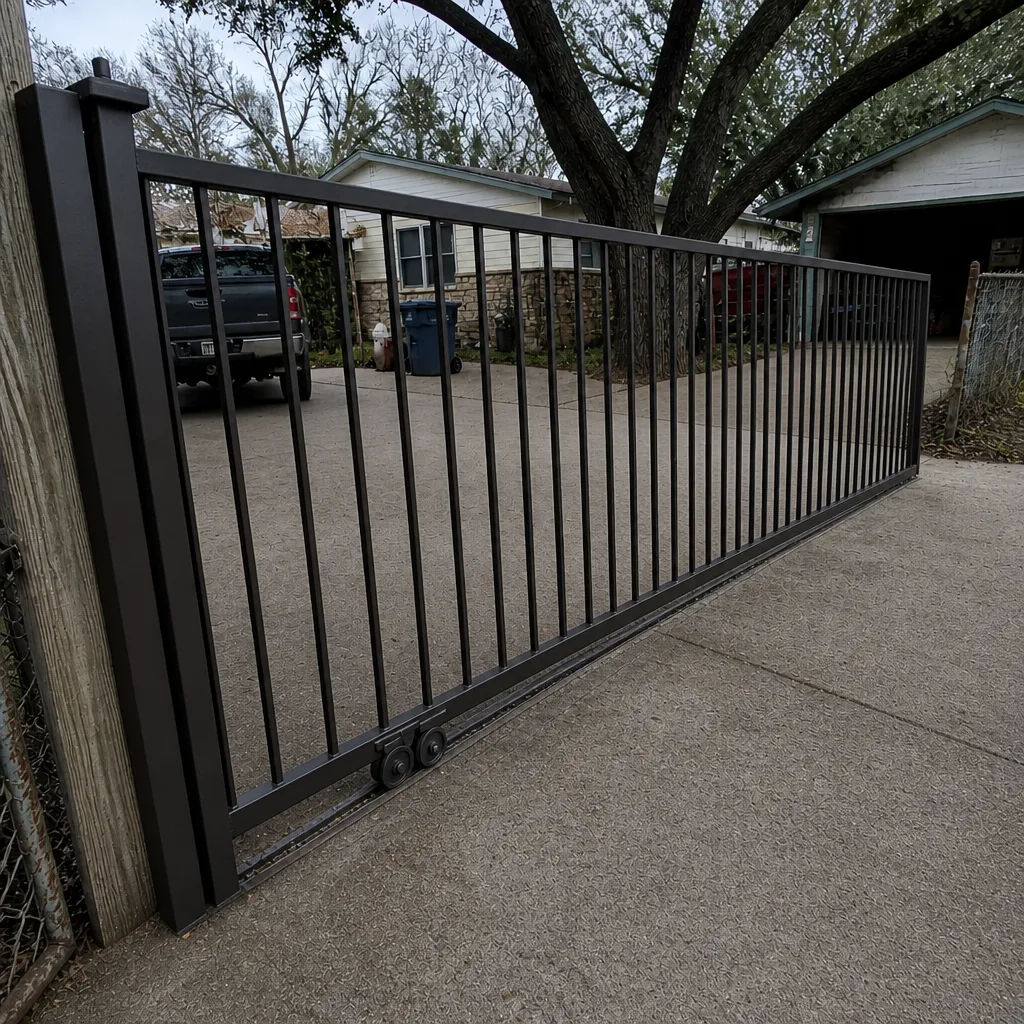
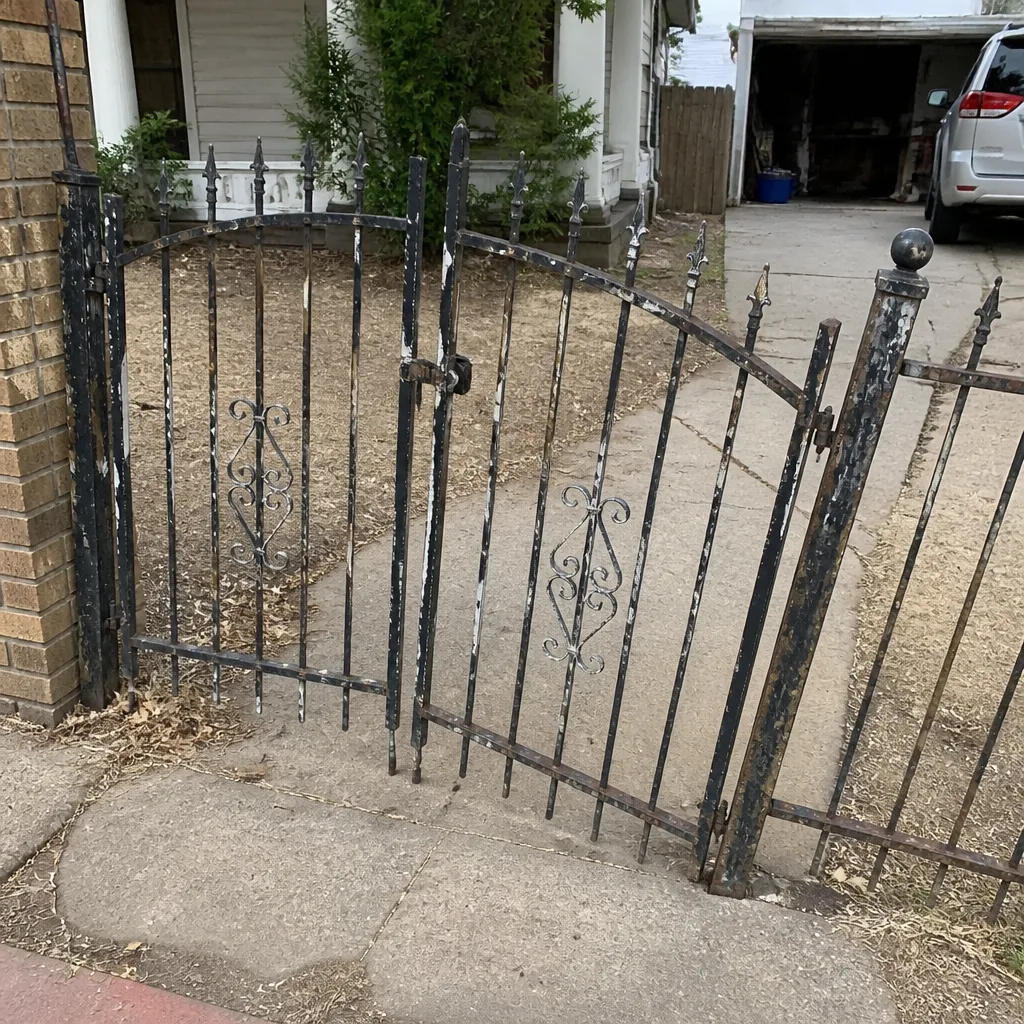
See the difference
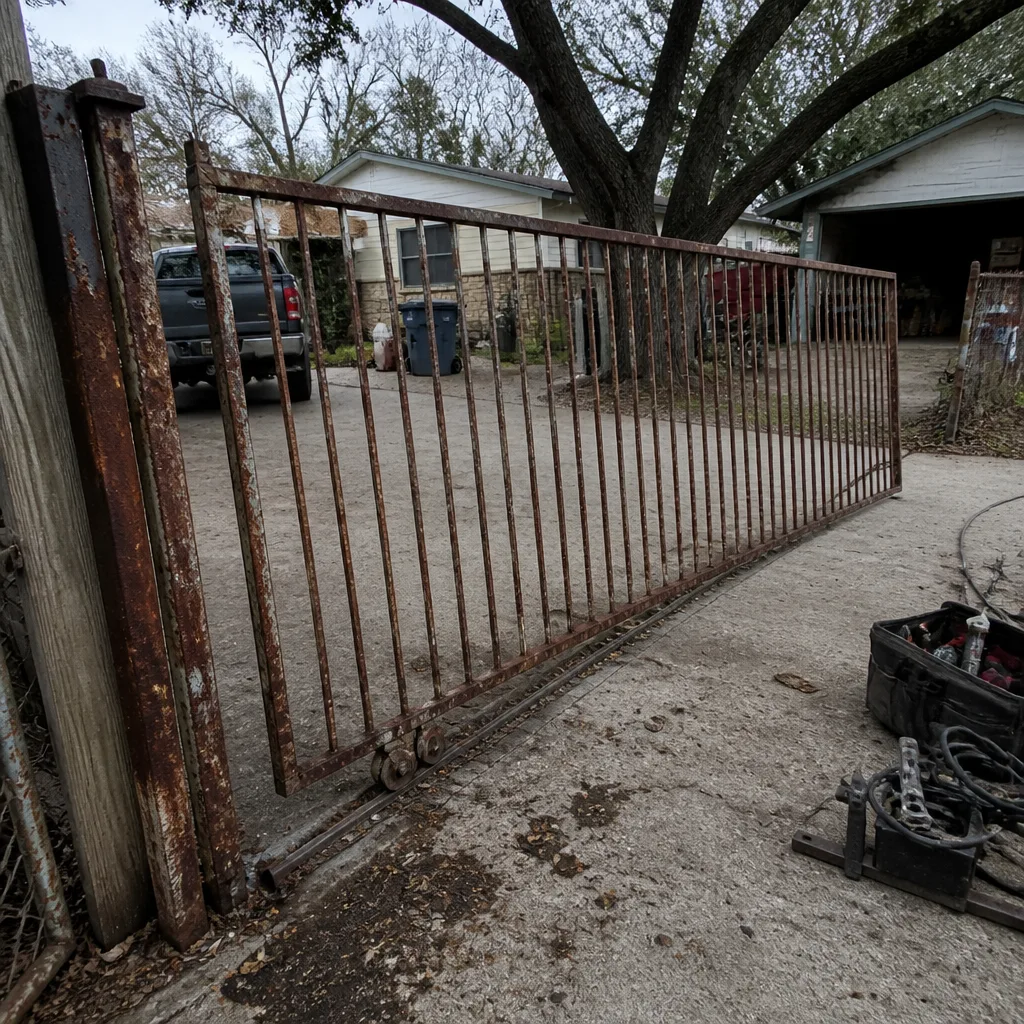 Before
 After
 Before
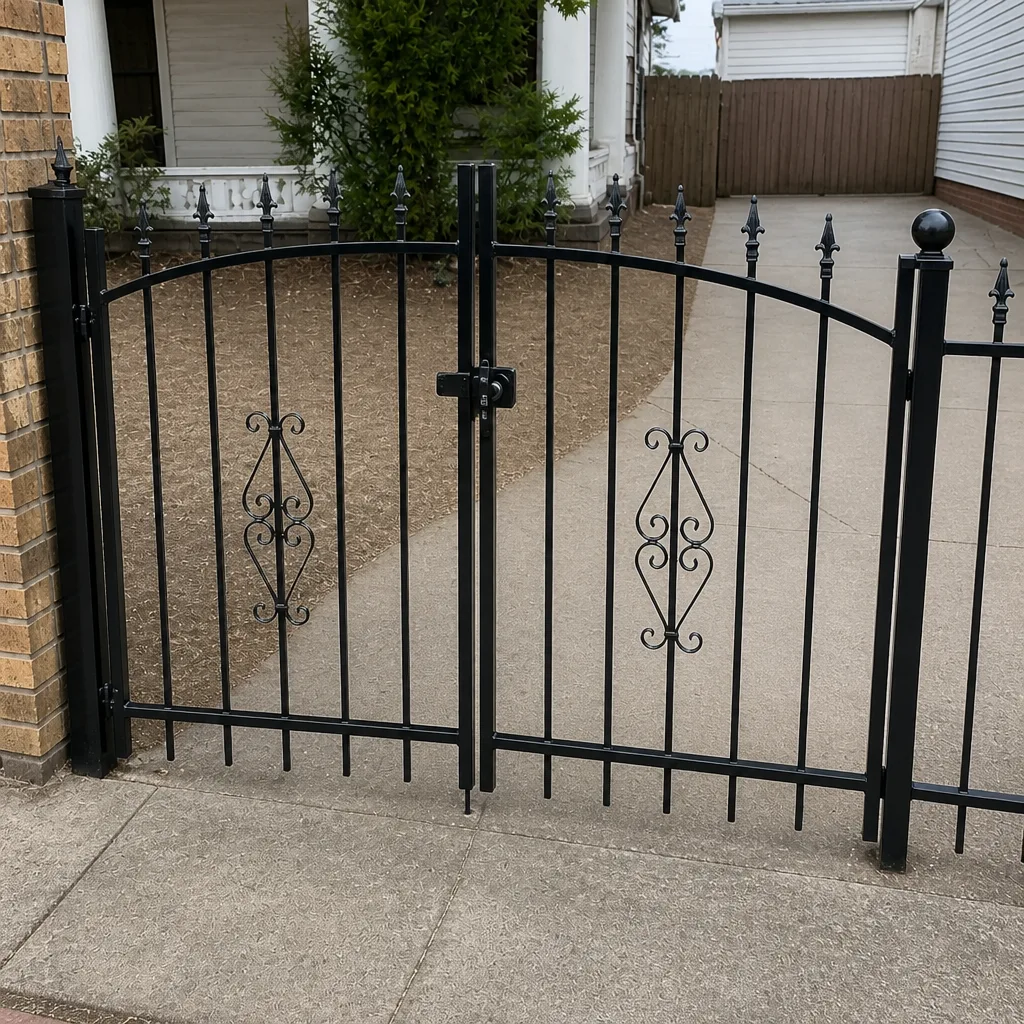 After
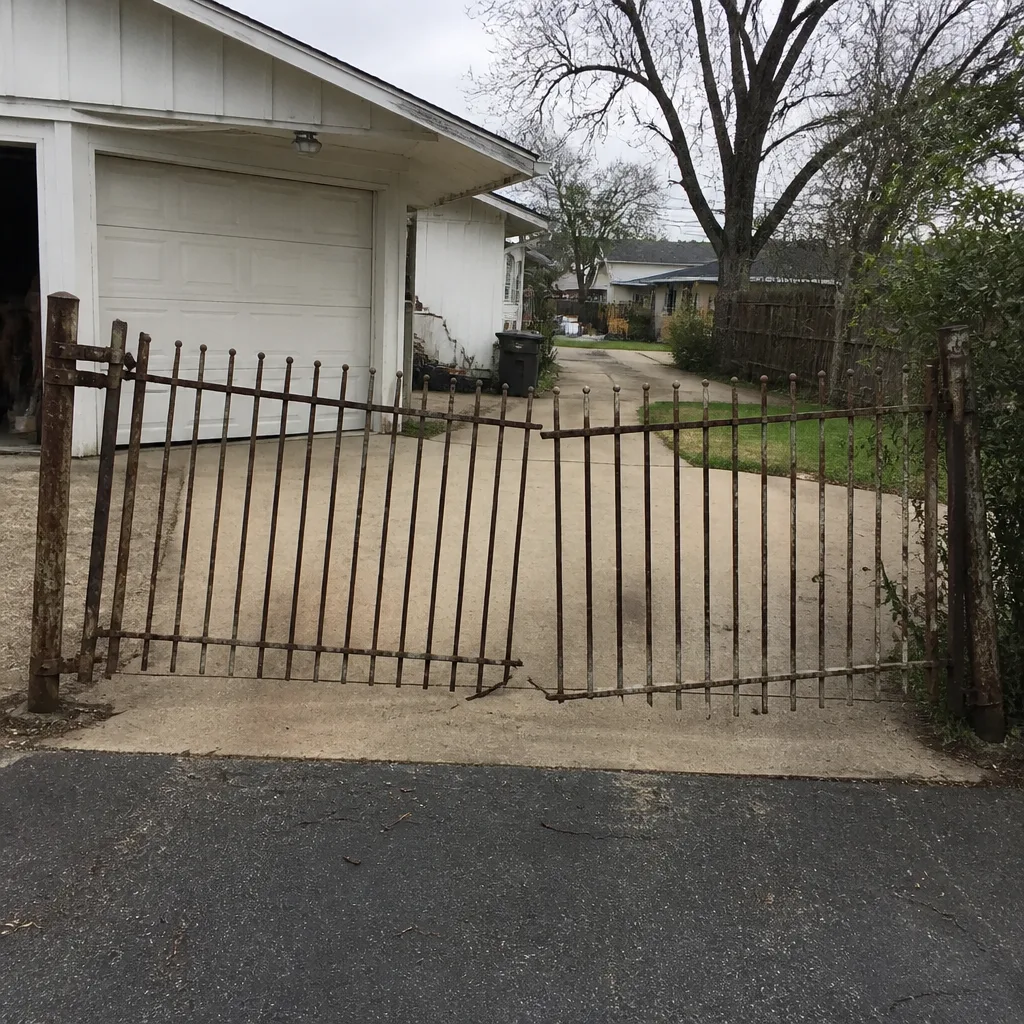 Before
 After
When to Call a Professional
Call us when any of these apply: the gate fails the safety test (photo eye or safety edge doesn’t stop it); a post keeps moving despite your checks; the operator jerks, slows, or develops an unusual noise; the control board shows scorch marks, corrosion, or a dead indicator; a storm has knocked out the gate; or your log shows a trend you don’t understand. Service starts with an honest look at the whole unit. We work on the brand you have, across consumer-grade units like Mighty Mule and Ghost Controls and commercial-grade operators like DoorKing and Elite, so a second opinion on a specialist is rarely needed. Gate Repair Waco offers free estimates in Waco, call (855) 638-3208. We answer 24/7. Fast dispatch from 7am to 7pm, Sunday through Friday. Closed Saturday.
Frequently Asked Questions
Quarterly is the right baseline, plus a storm prep pass just before spring and another check after the wet season. Waco’s clay soil and heat create faster wear than a milder climate, and quarterly passes catch movement and wear before they become repairs.
No, and it’s not the kind of fix that rewards trying. A leaning post usually means the footing has lost grip in the Blackland Prairie clay or the post has moved in the soil, and resetting it properly takes the right footing depth and the right equipment. A technician diagnoses whether it’s settlement, swelling, or footing failure and sets it correctly the first time.
Heat is the likely cause. Lubricants thin out, and metal components expand. A gate that is already close to binding will cross the line in August and be fine in October. Check post plumb and hinge play first, then get the gate tested by a technician while the problem is showing.
The most likely causes are water in the control box or surge damage to the control board. Don’t keep cycling it, because a damaged board can take the motor with it. Call us at (855) 638-3208 for diagnosis and an exact quote. Estimates are free.
Home maintenance covers inspection, cleaning, lubrication of accessible parts, and the monthly safety tests. Beyond that, anything electrical, any control board, any safety device that fails a test, and any limit or force adjustment belongs with a technician. That’s the line where home maintenance ends.
We work on FAAC, BFT, Linear, and Viking systems, along with LiftMaster, Ghost Controls, DoorKing, Elite, and Mighty Mule, across both residential and commercial units. If your unit isn’t on that list, call us and we’ll tell you honestly whether it’s a job we take. Our specialist focus means we’re not learning your gate on the visit.
The Bottom Line
The visible checklist – lubricating hinges, wiping photo eyes, checking the latch – is worth doing. But in Waco, the failures that matter start underground and in the electronics. Protect the post footings from clay movement, match each lubricant to its component, storm-harden the control box and lenses, and keep a written log you can compare over time. Do that and your gate holds up through 100°F summers and spring hail. Skip it and you’ll be explaining a slow-worsening trend to a technician who has to start from scratch. If you’d rather the specialists take it from here, Gate Repair Waco is a phone call away.
Call (855) 638-3208 for a free estimate. We answer 24/7. Fast dispatch from 7am to 7pm, Sunday through Friday. Closed Saturday. Every price is quoted and agreed in writing before any work starts. Call (855) 638-3208 today.
Written by the team at Gate Repair Waco, serving Waco since 2018.